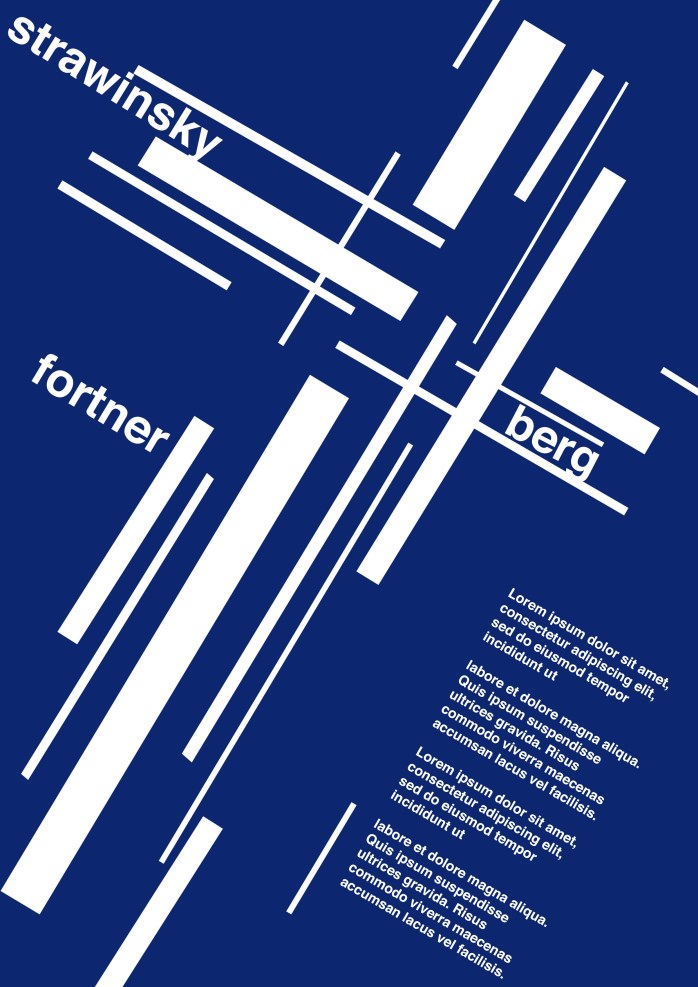
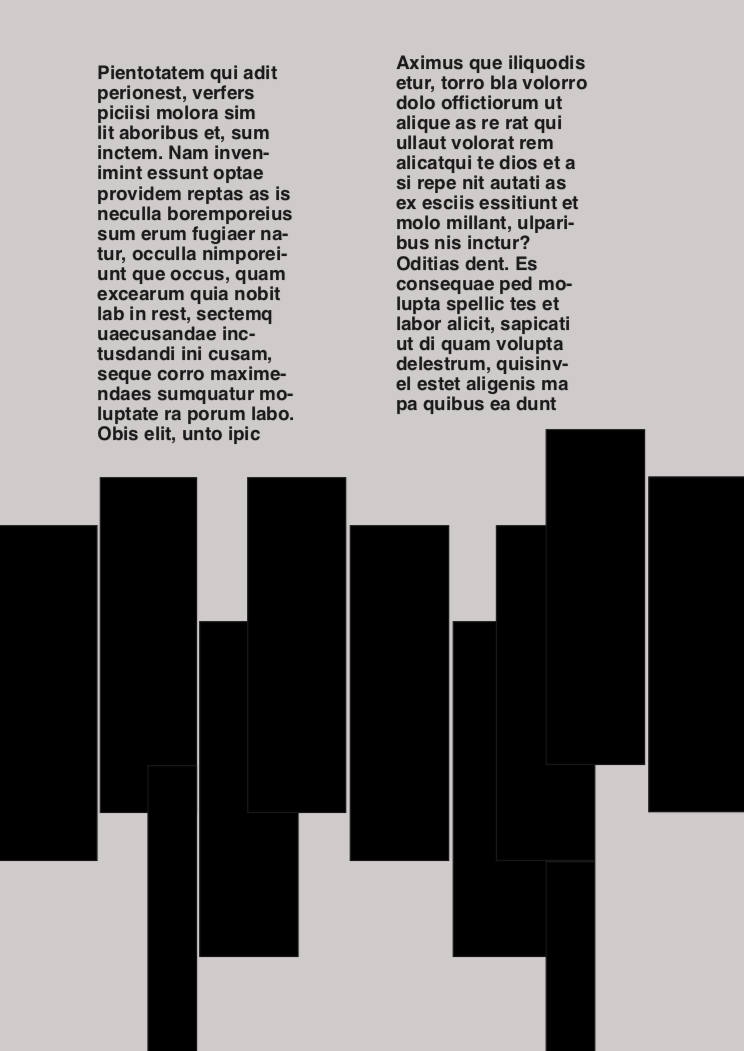
For the first week of workshops, we were given an induction into Adobe InDesign and our brief was to recreate a poster. As I have never used InDesign due to my college using Photoshop, I found it really difficult to keep up with the information I was being fed. The first thing we had to do was adjust the margins of the page to the dimensions of 13.5 top/bottom, and then 11.5 left/right. Then, I created guides on the page as the poster I was recreating featured lots of rectangles, this allowed me to see easier. After this step I started to add the rectangles and filled them in black, this was quite difficult for me as the shapes were all different sizes, with some spread further apart from others. It was stated that the rectangles must be 22mm x 94.5mm, I adjusted the size of the shapes using the task bar along the top. When I had added all of the shapes, I needed to add the background colour. To do this I took a screenshot of the original poster and added it into the InDesign document. I then used the eyedropper tool to capture the exact colour which then showed up on my pallet. Finally, I selected the area inside the margins and filled it with the colour, making sure I dragged this layer to the bottom so all of the other contents could be seen. The last step in recreating the poster was to add the text. This was pretty simple as we were already given the information (15/16pt, 30/32pt helvetica bold). To create a text layer, I simply selected the type tool and entered any required information. All in all, I didn’t enjoy this InDesign workshop as I am so used to Photoshop, I hope I can progress my skills over the following weeks.