This workshop was all about getting to know Photoshop, The first step I did was open the poppy image on Photoshop. This brought up a raw image panel, which allowed me to play around with the saturation and the histogram, seeing all the different shades within the photograph. A raw image file is an uncompressed version of the image file. Essentially, the camera takes the image data from the sensor, and saves it in an unedited and uncompressed format on the memory card. The raw files are unprocessed, allowing the photographer to adjust settings like exposure, white balance, and saturation after the image has been captured. Instead of applying lossy JPEG compression, which reduces the image quality, RAW mode saves files in a losslessly compressed format. We then created a simple animation of the poppy. To begin, I opened the poppy image, and used the quick selection tool to select the poppy. Then, I clicked on select and mask, which allowed me to create a background copy and open the poppy in a separate layer. To make the poppy seem as if it was moving, I selected the original photograph layer, then the background copy, and then finally clicked ‘fill’. By doing this, the original layer was filled with the surrounding leaves of the poppy. After this, I created a video timeline, similar to after effects. I then converted the layers to smart objects and began to manipulate them. I began the stopwatch of the background copy and transformed it so that it gradually increased in size and rotated.
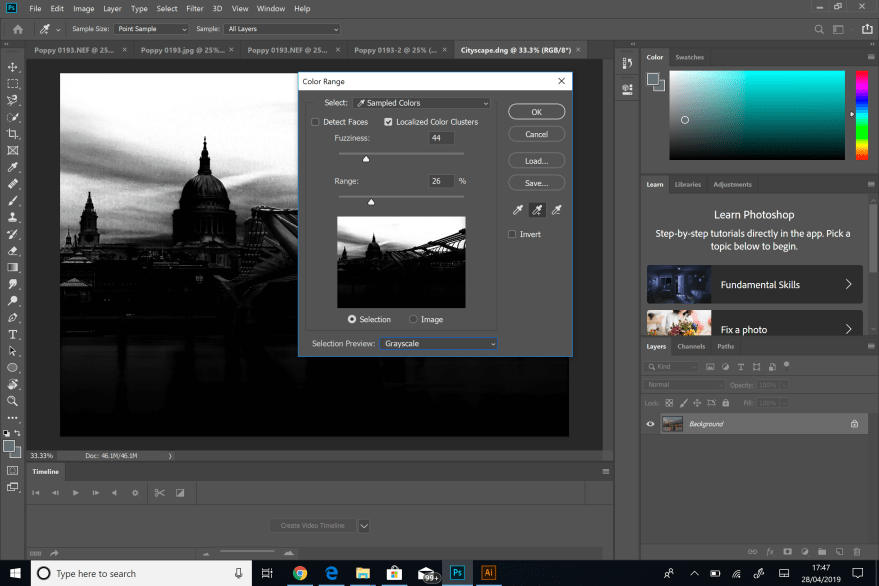
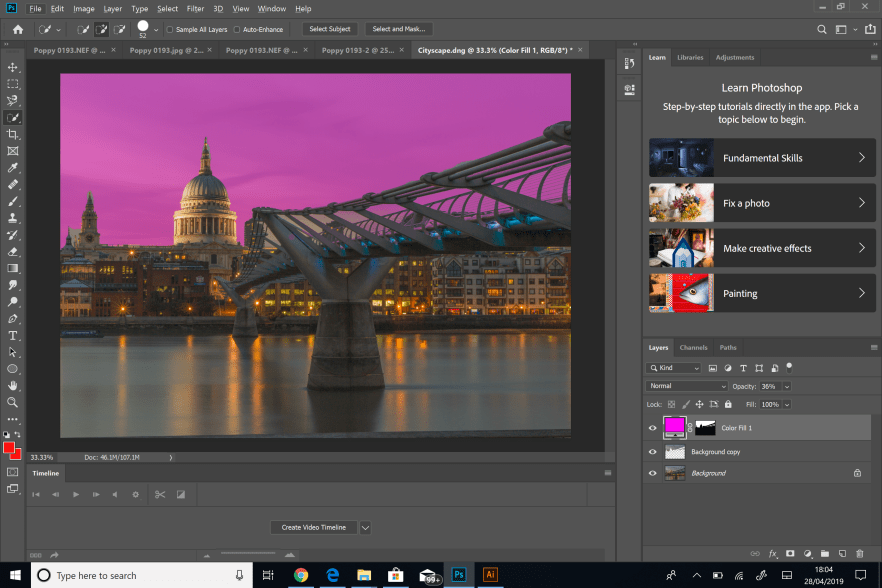
After this, I began playing with the cityscape image. To grab the outline of the sky, I went onto the select menu and selected colour range. I used the eye dropper to select a certain colour from the sky, to add to this selection, I selected the eyedropper+ tool to add another section. By turning on the localised colour clusters, this meant more of the sky was being picked up instead of the building, which is what I wanted. After this, I was able to manipulate the colour of the sky.
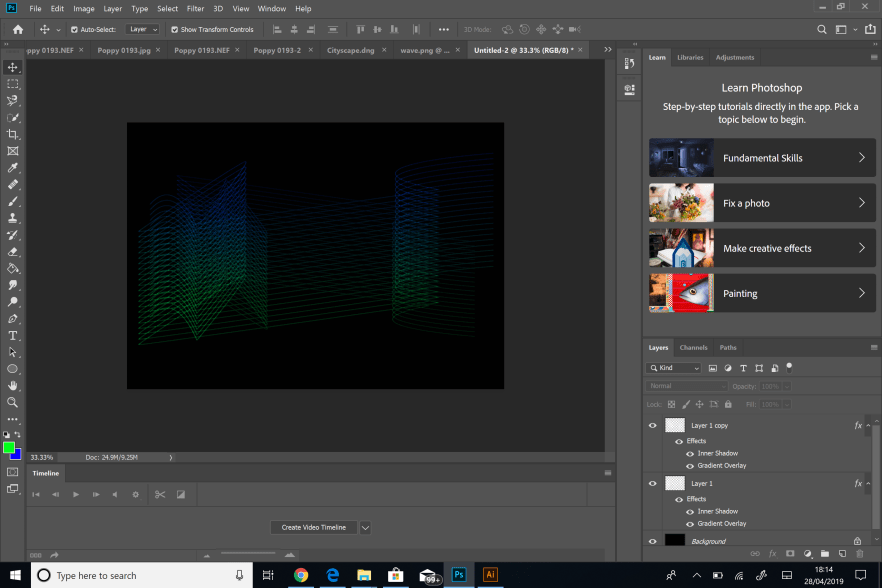
The last stage of this workshop was to play around with shapes. I firstly created a path on Illustrator and duplicated the shape many times in order to create a wave. After this, I went to the Object menu and clicked on ‘blend’, then Object>Blend>Blend options. I chose specified steps and set it to 24. This created a wave like structure. With my paths selected, I changed the fill to no fill so that only the stroke remained. After, I moved some anchor points around so that the blend of the shape would change. Finally, I opened the shape onto Photoshop and manipulated the colour of the document.